Building a Serverless API with AWS API Gateway, Lambda, and Cognito for User Authentication

In this blog, we will walk through the process of building a serverless API using AWS API Gateway, AWS Lambda, and AWS Cognito for user authentication. This stack provides a powerful and scalable way to create and manage APIs with minimal infrastructure management. By the end of this guide, you will have a secure, scalable, and cost-efficient API with user authentication integrated into it.
Why Serverless?
Before diving into the implementation details, it’s essential to understand why serverless architectures have gained so much popularity. Serverless computing abstracts away the need to manage servers, allowing developers to focus on code and business logic rather than worrying about infrastructure. AWS offers several services that support a serverless architecture, including API Gateway, Lambda, and Cognito:
- AWS API Gateway provides a fully managed service to create and expose RESTful APIs.
- AWS Lambda enables you to run code in response to events without provisioning or managing servers.
- AWS Cognito offers authentication, authorization, and user management for your applications.
Together, these services allow you to build scalable, secure, and cost-effective APIs.
Steps to Build the Serverless API with User Authentication
We’ll break this down into clear steps for building a serverless API with AWS API Gateway, Lambda, and Cognito.
Step 1: Set Up AWS Cognito for User Authentication
Amazon Cognito simplifies adding authentication and user management to your application. It allows you to easily create user pools, manage registration, authentication, and multi-factor authentication.
- Create a Cognito User Pool:
- Navigate to the AWS Cognito console.
- Define your application-specific user pool requirements.
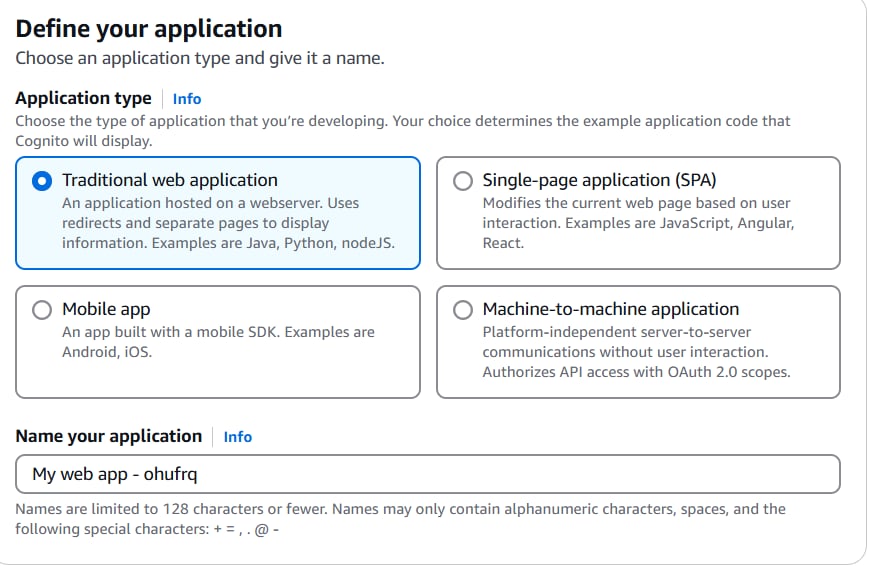
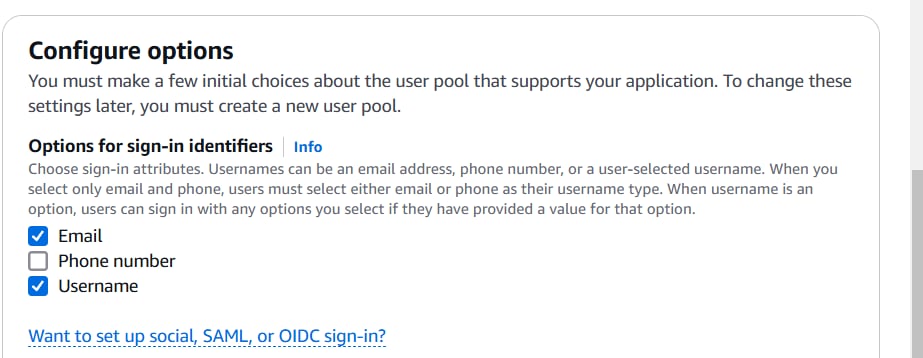
- Configure the required options, such as:
- Signup attributes (e.g., email or phone number).
- A return URL for redirecting users after successful login.

- Use the Login Page:
- Use the View login page option to access Cognito’s hosted UI for user authentication.
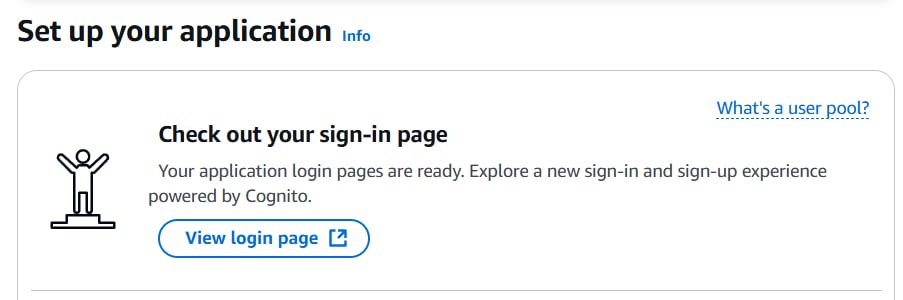
- Use the View login page option to access Cognito’s hosted UI for user authentication.
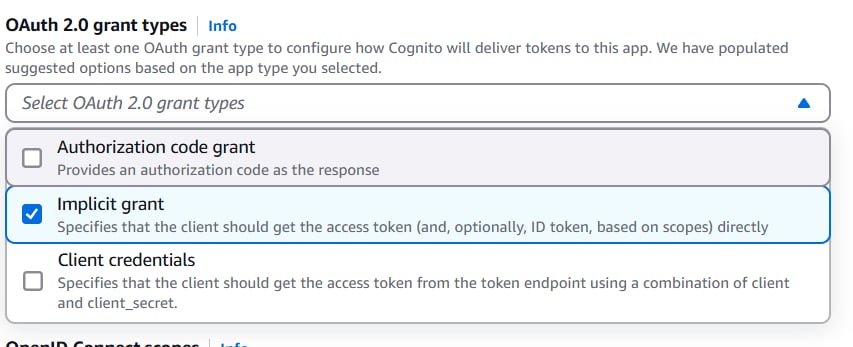
- App Client Configuration:
- Navigate to the login page and click on the “Edit” option.

- Go to OAuth 2.0 grant types and select “Implicit grant”.
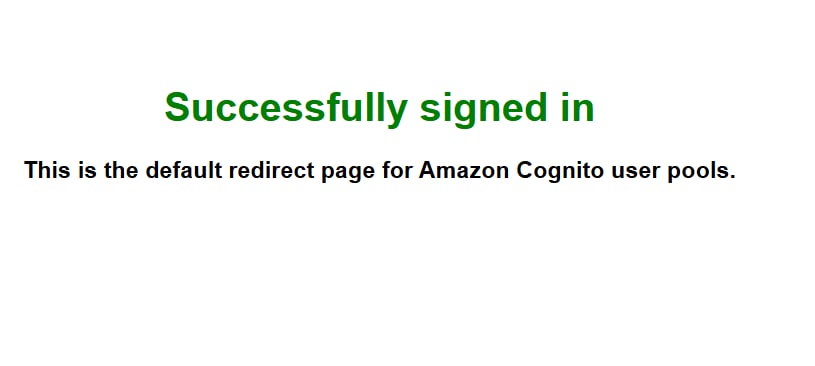
- Using the login dashboard, sign up for an account. After successfully logging in, take note of the URL and copy the token ID for future use.
- Navigate to the login page and click on the “Edit” option.
Step 2: Create a Lambda Function for API Logic
Now we will write the core business logic of the API using AWS Lambda.
- Create a New Lambda Function:
- Navigate to the Lambda service in the AWS Console and click Create function.
- Choose Author from Scratch and select Node.js or Python (or any other language you prefer).
- Set up the Lambda function to execute based on your desired API logic (e.g., creating a resource, fetching data, etc.).
Example Lambda Code: Below is a simple example of a Lambda function that responds with a greeting message: exports.handler = async (event) => {
const name = event.queryStringParameters ? event.queryStringParameters.name : ‘World’;
const response = {
statusCode: 200,
body: JSON.stringify({ message: `Hello, ${name}!` }),
};
return response;
};
2. Configure Permissions:
-
- Make sure the Lambda function has the appropriate permissions to interact with other AWS services (if needed). You can define the permissions using IAM roles.
Step 3: Set Up AWS API Gateway
Now we will expose the Lambda function via AWS API Gateway.
- Create a New API Gateway:
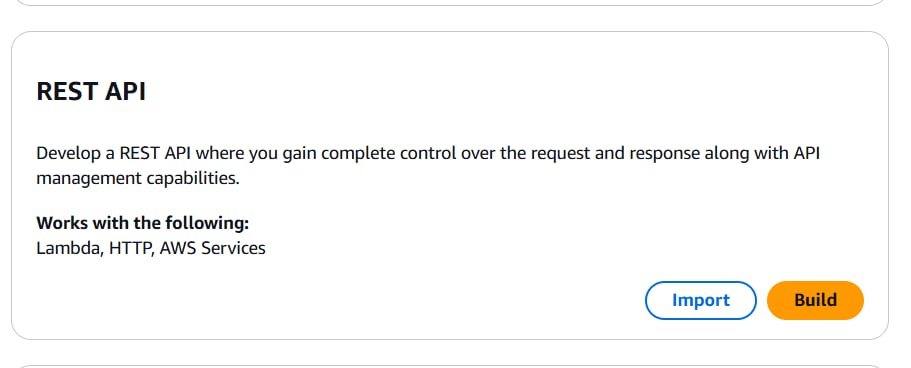
- In the AWS Management Console, go to API Gateway and choose Create API.
- Select REST API and provide a name for your API.
- Configure the Resource:
- Navigate to the method settings, configure the method type as GET, and link it to the Lambda function created in the previous step.

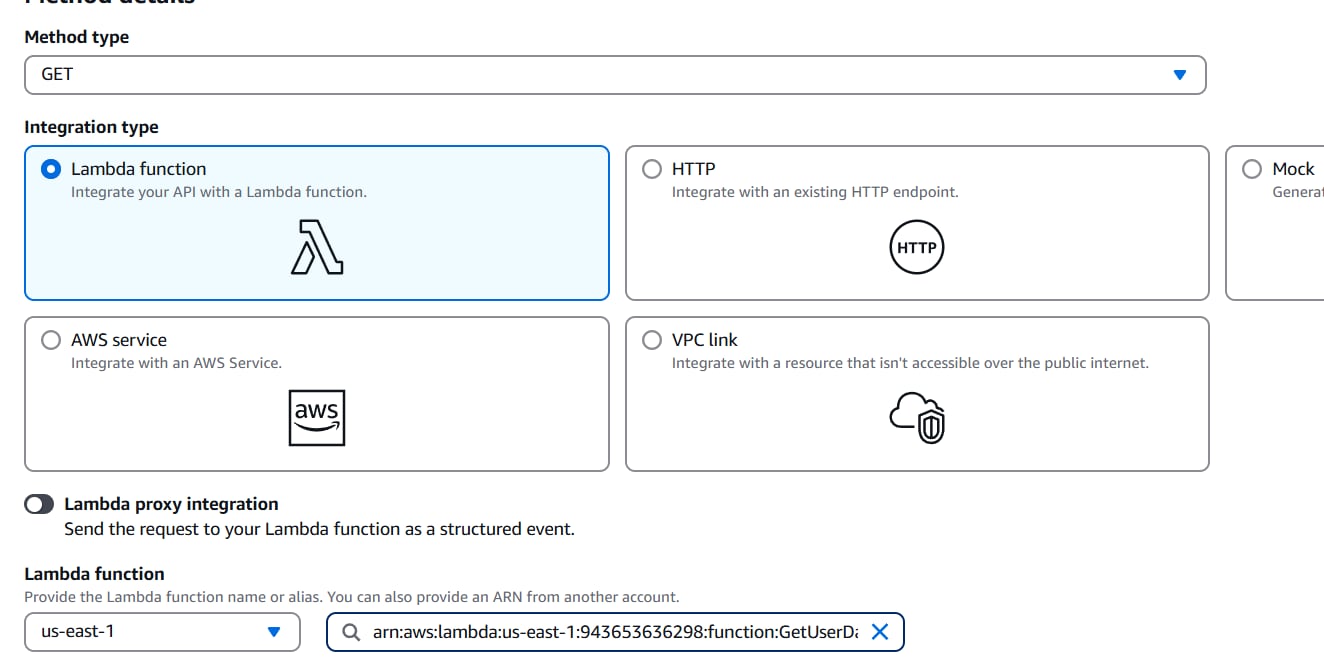
- Navigate to the method settings, configure the method type as GET, and link it to the Lambda function created in the previous step.
- Enable Authorization with Cognito:
- Select the Authorizer.
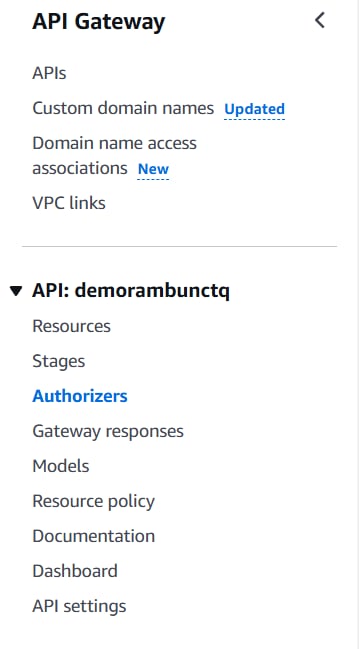
- Create an authorizer using Amazon Cognito. Configure it based on the provided settings to match your requirements.

- Select the user pool you created earlier. This ensures that only authenticated users can access the API.
- Select the Authorizer.
- Edit the Method Request:
- Navigate back to the method request settings and click on the “Edit” option.
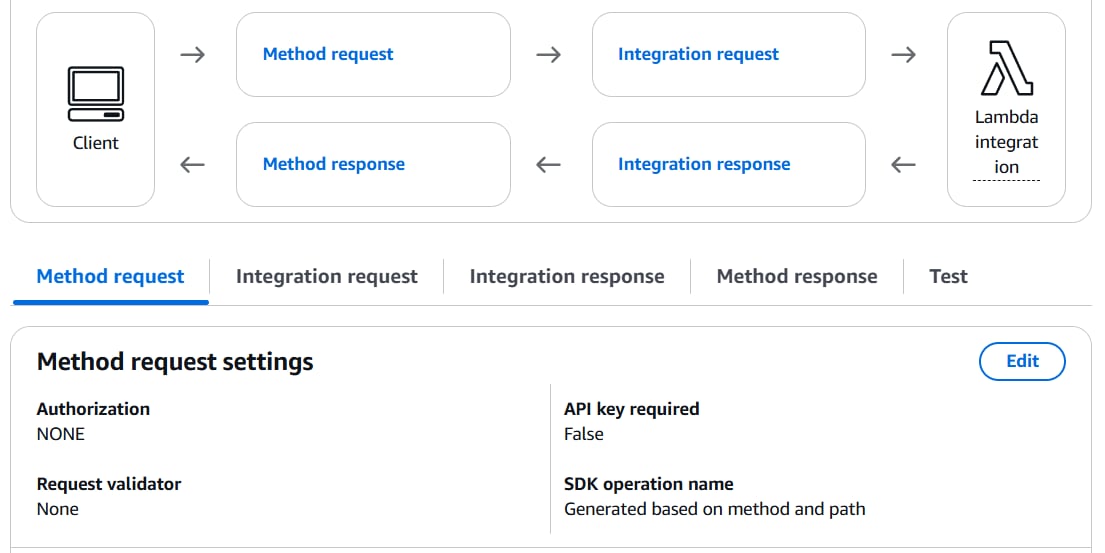
- Select the authorizer that you previously created from the available options.
- Navigate back to the method request settings and click on the “Edit” option.
- Deploy the API:
- Once everything is set up, deploy the API by creating a new stage (e.g.,
dev). - The API will now be live, and you can call it using the provided endpoint.
- Once everything is set up, deploy the API by creating a new stage (e.g.,
Step 4: Test the API
- Test Without Authentication:
- Try accessing your API without a token. You should get an unauthorized response.
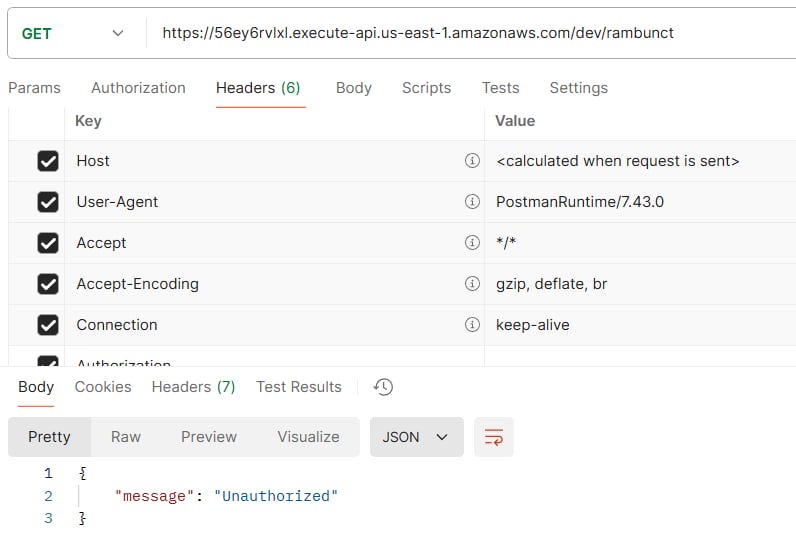
- Try accessing your API without a token. You should get an unauthorized response.
- Test With Authentication:
- Authenticate using the token ID that you noted earlier. To test the API using Postman, follow these steps:
- Open Postman and create a new request.
- In the Headers section, add the following:
- Key:
Authorization - Value: (Paste the token ID here)
- Key:
- Send the request, and you should receive the expected response if the authentication is successful.
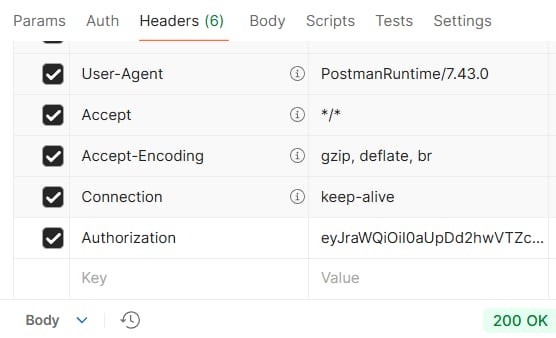
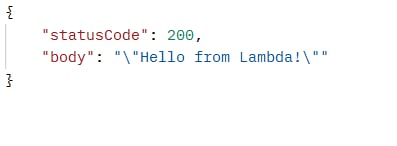
At this point, you should receive the expected response from the API, confirming successful authentication.
- Authenticate using the token ID that you noted earlier. To test the API using Postman, follow these steps:
Conclusion
You’ve now built a serverless API using AWS API Gateway, AWS Lambda, and AWS Cognito for user authentication. This stack allows you to build secure, scalable, and cost-effective APIs without worrying about server management. By leveraging AWS’s managed services, you can focus on your application’s core logic and let AWS handle the heavy lifting of authentication, authorization, and scaling.
This approach provides:
- Scalability: Automatically scales to handle large amounts of traffic.
- Cost-efficiency: Pay only for what you use, with no infrastructure overhead.
- Security: Easy integration of secure authentication with AWS Cognito.
")